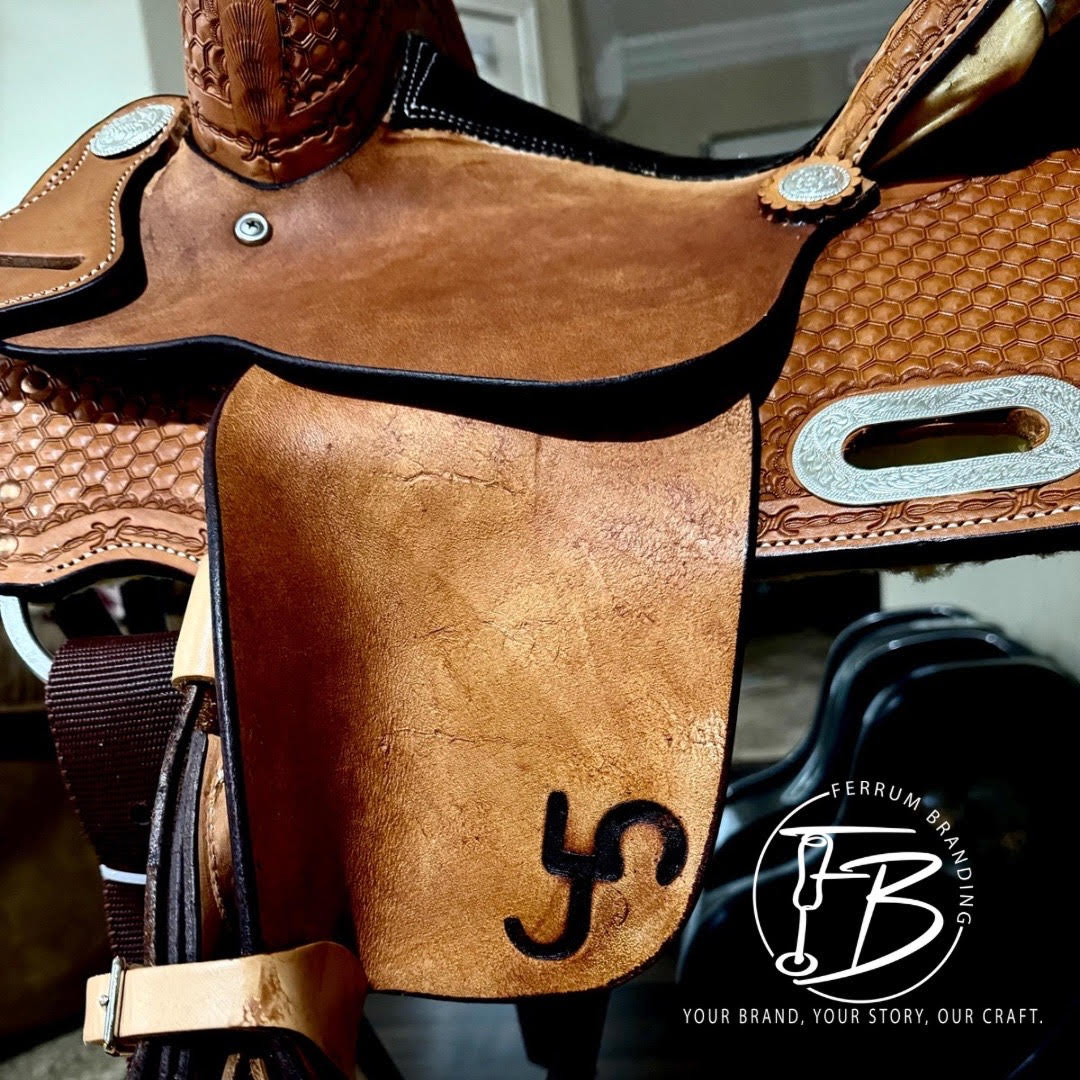
The Ultimate Guide to Branding Leather with a Branding Iron
Share
The Ultimate Guide to Branding Leather with a Branding Iron
Branding leather with an electric or fire-heated branding iron is a precise and rewarding craft that can elevate your leather projects. In this comprehensive guide, we provide detailed steps, expert tips, and best practices to help you achieve clean and professional leather branding results.

Understanding Leather Branding: A Craft of Precision
Leather branding involves using heat to permanently imprint designs, logos, or text onto leather surfaces. Electric branding irons offer consistent heat and control, making them an excellent choice for both beginners and professionals. To ensure the best outcome, understanding the properties of leather and the tools is essential.
Tools and Materials Needed
To brand leather successfully, gather the following tools and materials:
-
Electric or Torch Heated Branding Iron: Choose a branding iron with adjustable temperature settings for greater control.

- Fire or Torch-Heated Branding Iron: You can also utilize a torch or fire-heated branding iron, which can also provide solid results.
-
Leather Material: Use vegetable-tanned leather, which responds best to heat.
-
Protective Gear: Heat-resistant gloves and safety goggles.
-
Workbench: A sturdy, heat-resistant surface.
-
Ruler and Pencil: For precise positioning.
-
Damp Cloth: To prepare the leather.
-
Test Leather Scraps: For practice runs.
Step-by-Step Process for Branding Leather
Step 1: Prepare Your Workspace
-
Ensure your workbench is clean and free of clutter.
-
Place the branding iron on a heat-safe stand.
-
Plug in the iron and set the desired temperature. If you are using a manually heated branding iron, you can start heating it with a propane or MAPP torch.
Step 2: Select and Prepare the Leather
-
Choose a piece of vegetable-tanned leather. This type of leather is durable and absorbs heat effectively.
-
Lightly dampen the leather with a damp cloth. This helps prevent scorching and enhances the branding effect.
Step 3: Position the Design
-
Use a ruler and pencil to mark the exact placement of the brand.
-
Ensure the leather is flat and stable to avoid shifting during branding.
Step 4: Heat the Branding Iron
-
Allow the branding iron to reach the desired temperature. Most electric branding irons have an indicator light or temperature gauge.
-
Perform a test run on a scrap piece of leather to ensure the heat setting is correct.
Step 5: Apply the Branding Iron
-
Press the heated branding iron firmly onto the leather at the marked position.
-
Hold it steady for 2-5 seconds, depending on the leather thickness and desired depth of the imprint.
-
Lift the iron straight up to prevent smudging.
Step 6: Cool and Inspect the Branding
-
Allow the branded leather to cool for a few minutes.
-
Inspect the design for clarity and depth. If needed, make minor adjustments or reapply the brand.
Expert Tips for Professional Results
-
Test Before Branding: Always test on a scrap piece of leather to refine the temperature and timing.
-
Consistent Pressure: Apply even pressure to avoid uneven imprints.
-
Avoid Overheating: Excessive heat can scorch or damage the leather.
-
Clean the Branding Iron: Clean the branding iron to remove residue and maintain precision.
-
Practice on Different Leathers: Experiment with various leather types to master the craft.
Common Mistakes to Avoid
-
Uneven Pressure: This leads to inconsistent branding results.
-
Rushing the Process: Proper preparation and careful application are key.
-
Skipping Tests: Skipping practice runs can result in irreversible mistakes.
-
Incorrect Leather Choice: Synthetic or chrome-tanned leather may not yield good results.
Branding leather with an electric branding iron is both an art and a science. By following the steps and tips outlined in this guide, you can achieve professional-quality results that enhance your leather projects. Whether you are branding for personal use or creating custom products for clients, mastering this skill will set your work apart.
Start branding with confidence and create lasting impressions on your leather pieces today!
